Making a new workshop activity
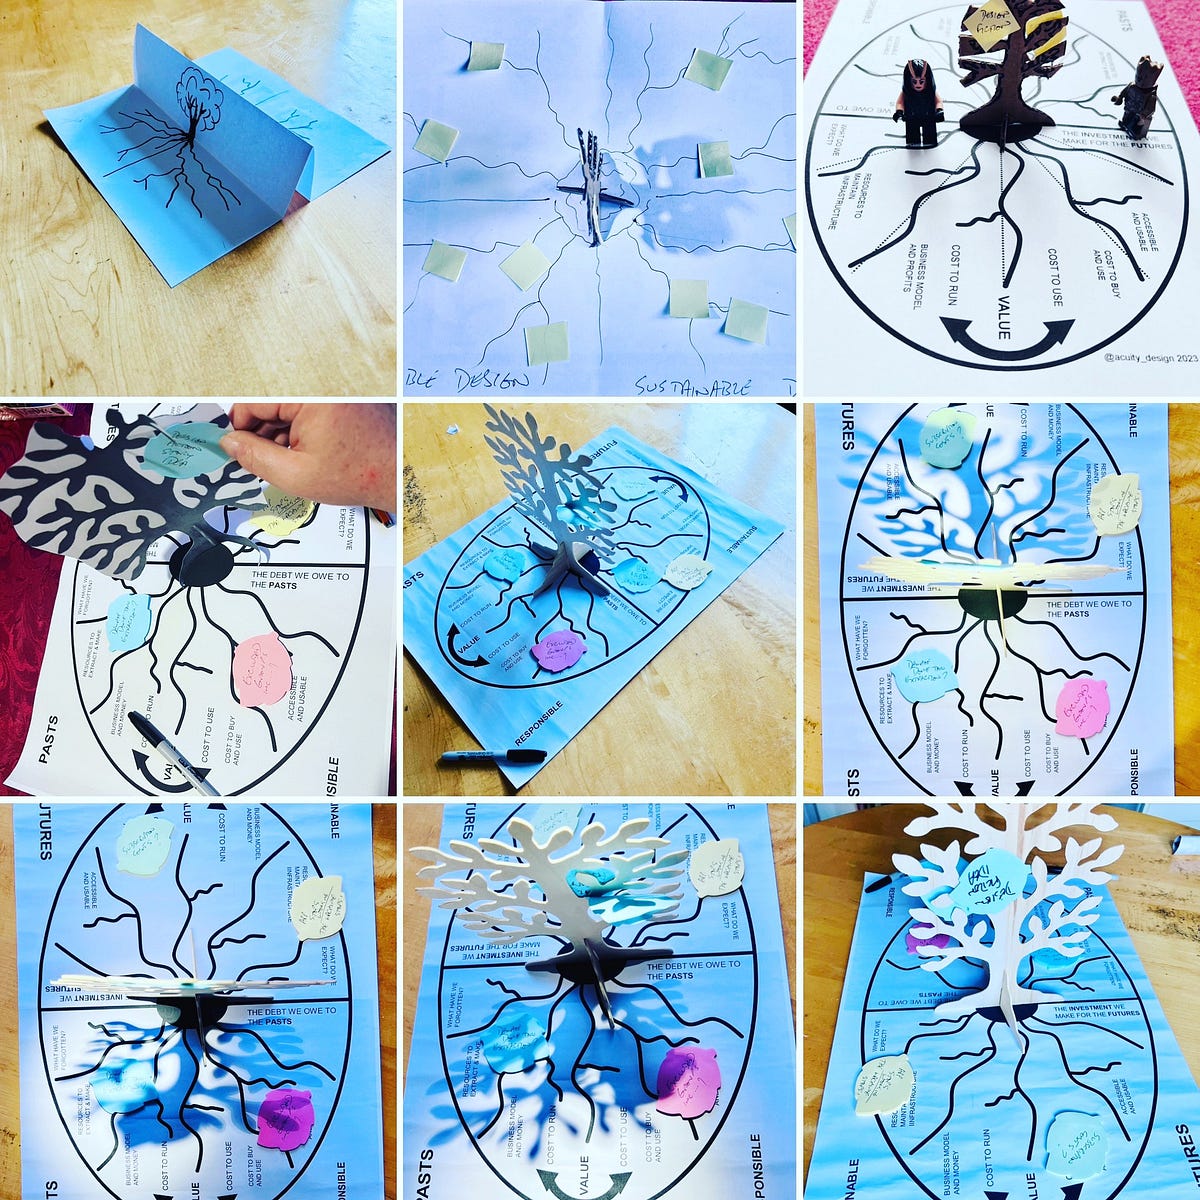
This is a simple photoessay of 4 days of prototyping a workshop activity.
Wednesday
I have been trying to think of a design fiction workshop activity that shows explicitly the links between ween pasts and futures and enables discussions of responsibility and sustainability.
After playing with a few ideas, the idea of a tree, its roots and the shadows it casts came to mind.
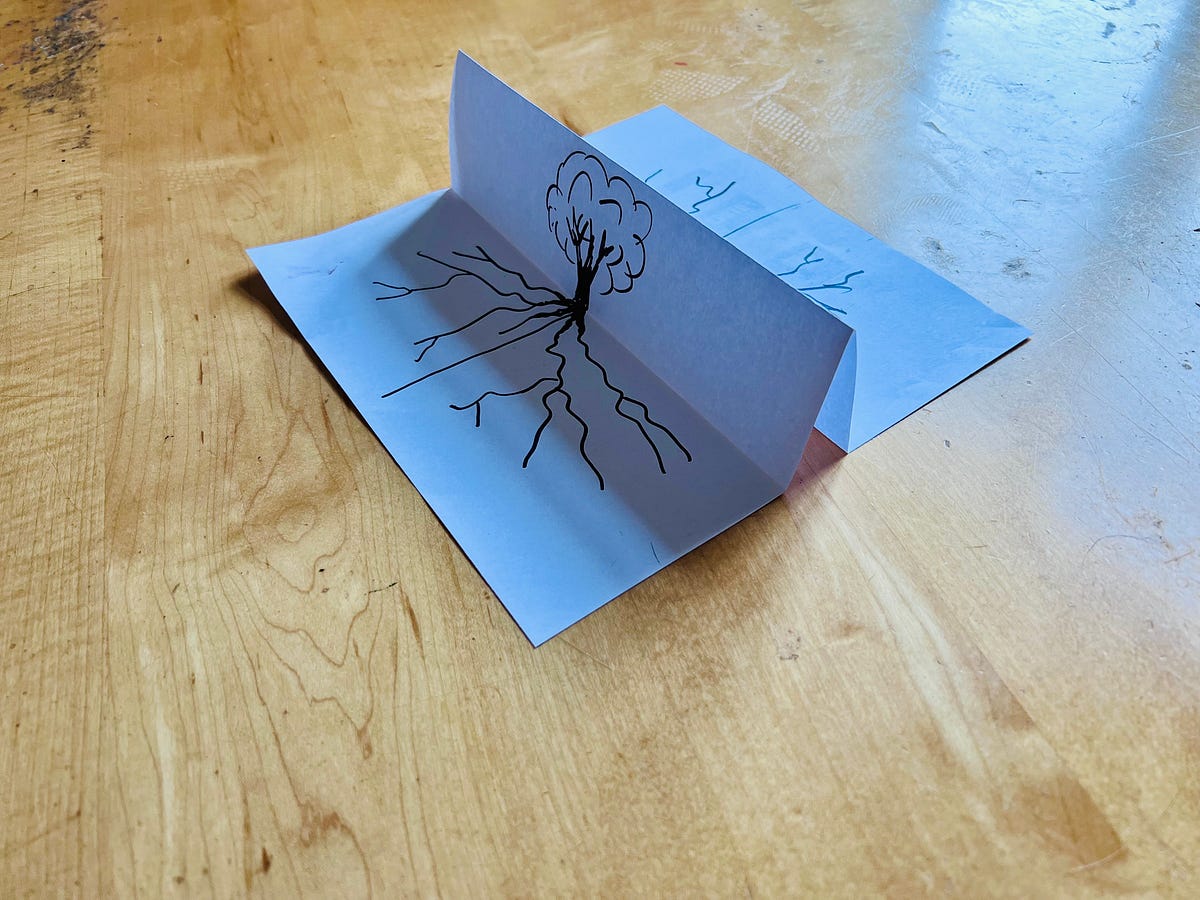
The first model was simply a drawing on folded A4 paper. In some ways it was made to motivate me to try and develop it.
Simple prototypes can be a way of creating commitment to try.
Thursday
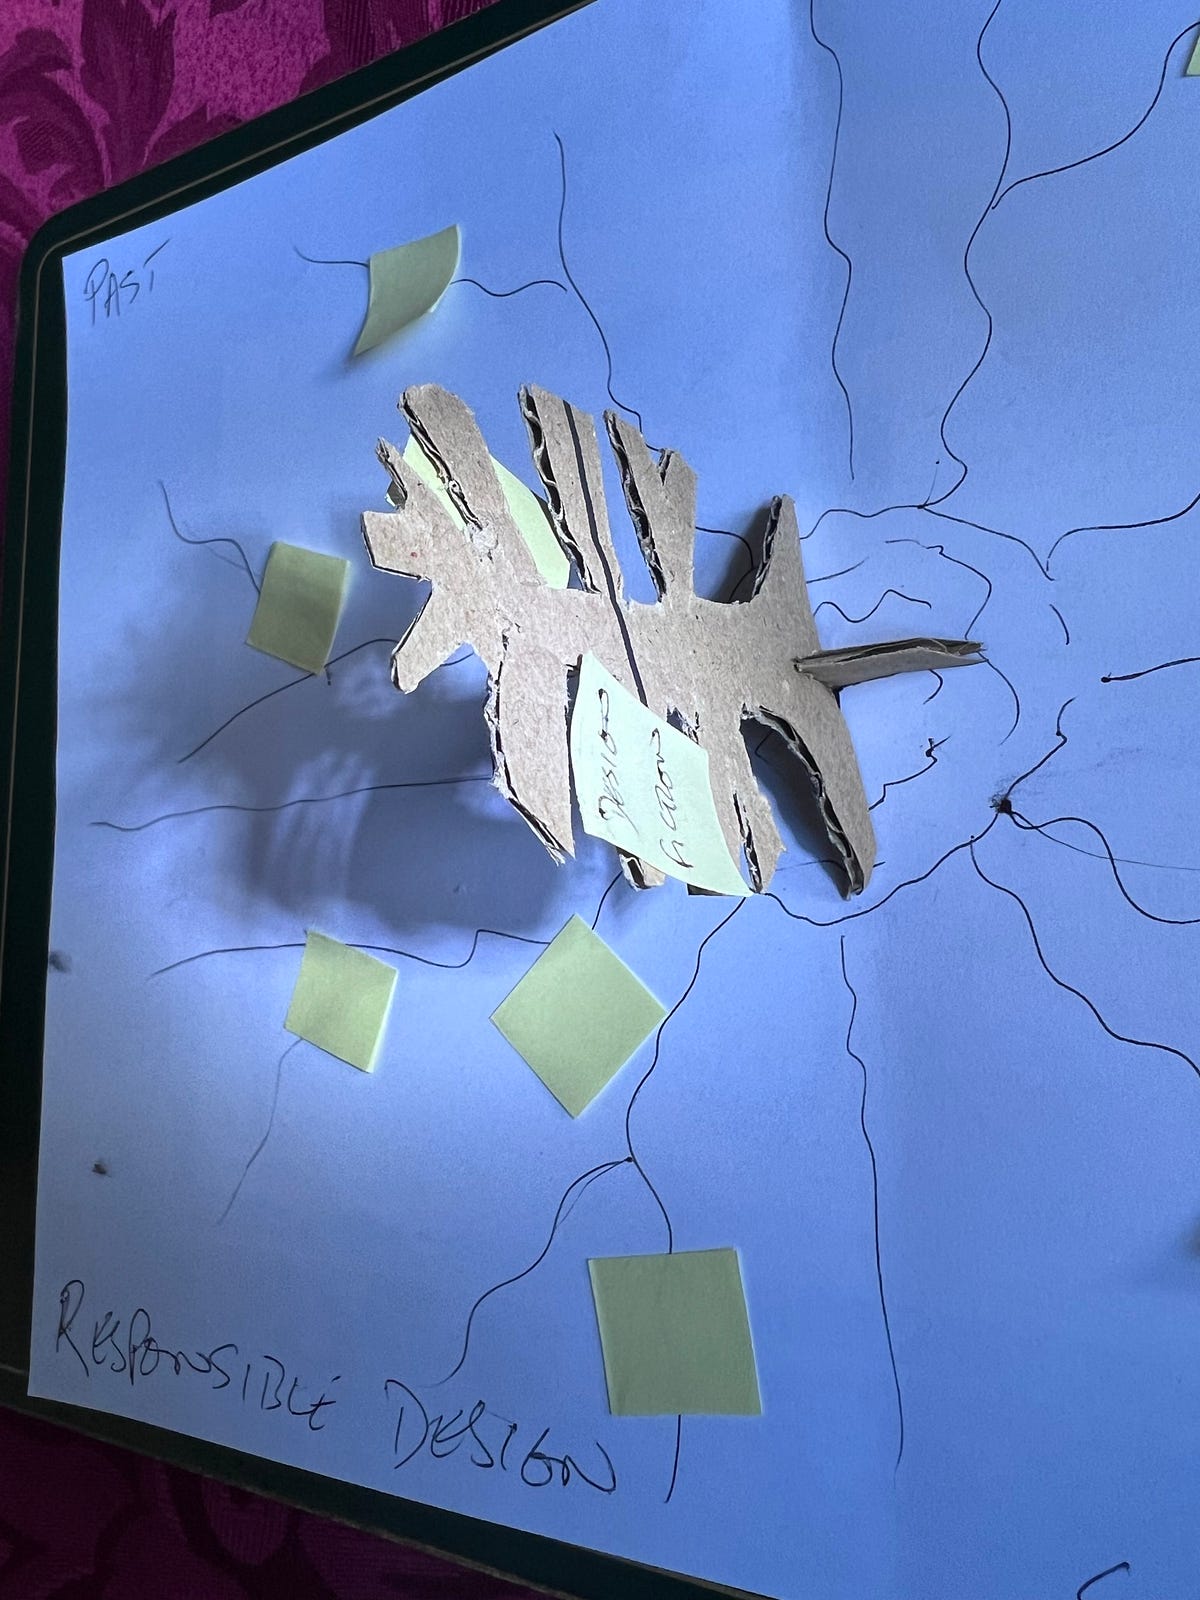
Thursday was about making a scale model of the activity. Particularly for groups, where the activity will be spread across a table, it’s easier to make a small model than commit to the full size artefact.
I found a nice wooden tree model online. It was 30cm tall so that allowed me to scale the rest of the materials. An A4 sheet representing the final A2 sheet (this is also easier for making stuff on a home printer). I cut up a post it note to get the right sized ones for the 1/4 scale model
The first sketch and model above was just a test of the physical experience. The tree, the roots and the shadows.
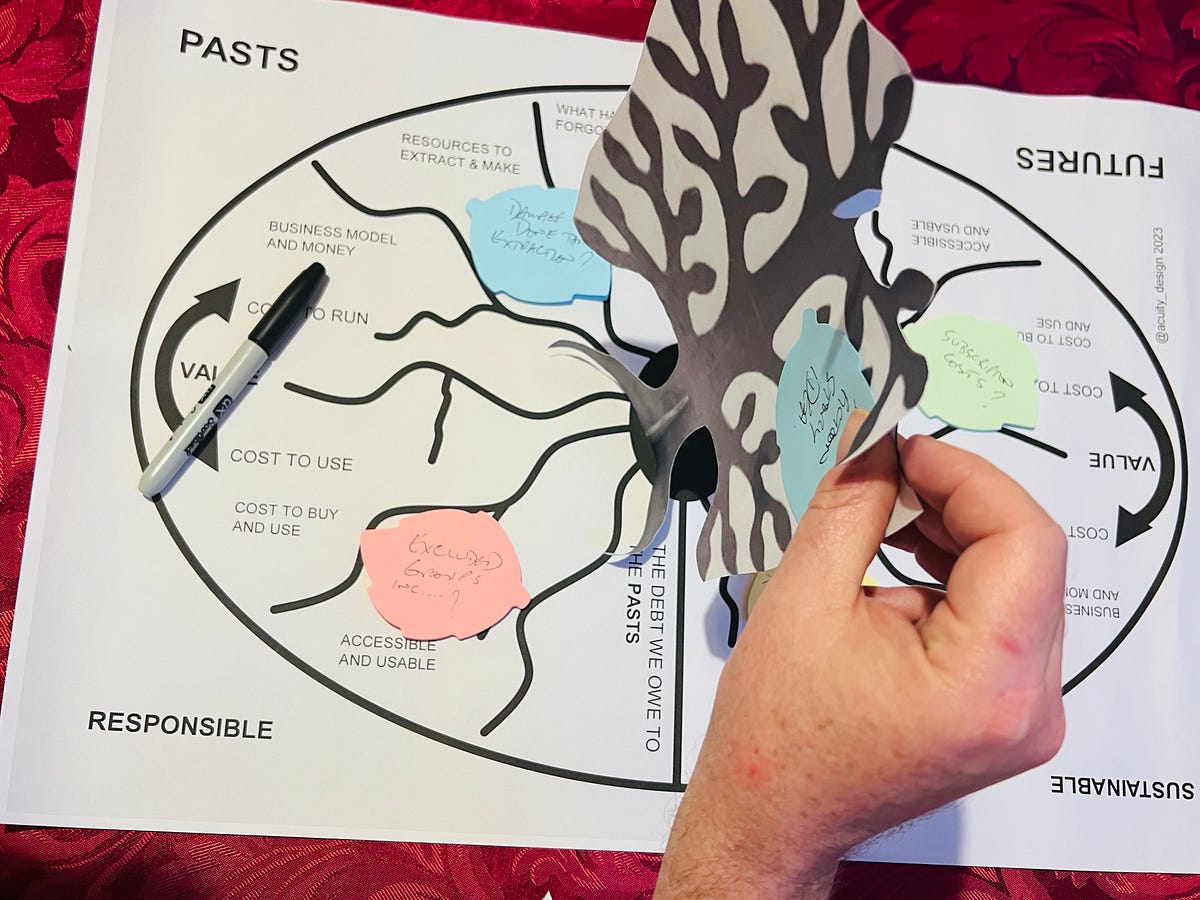
The next part was to test the content for the printed sheet.
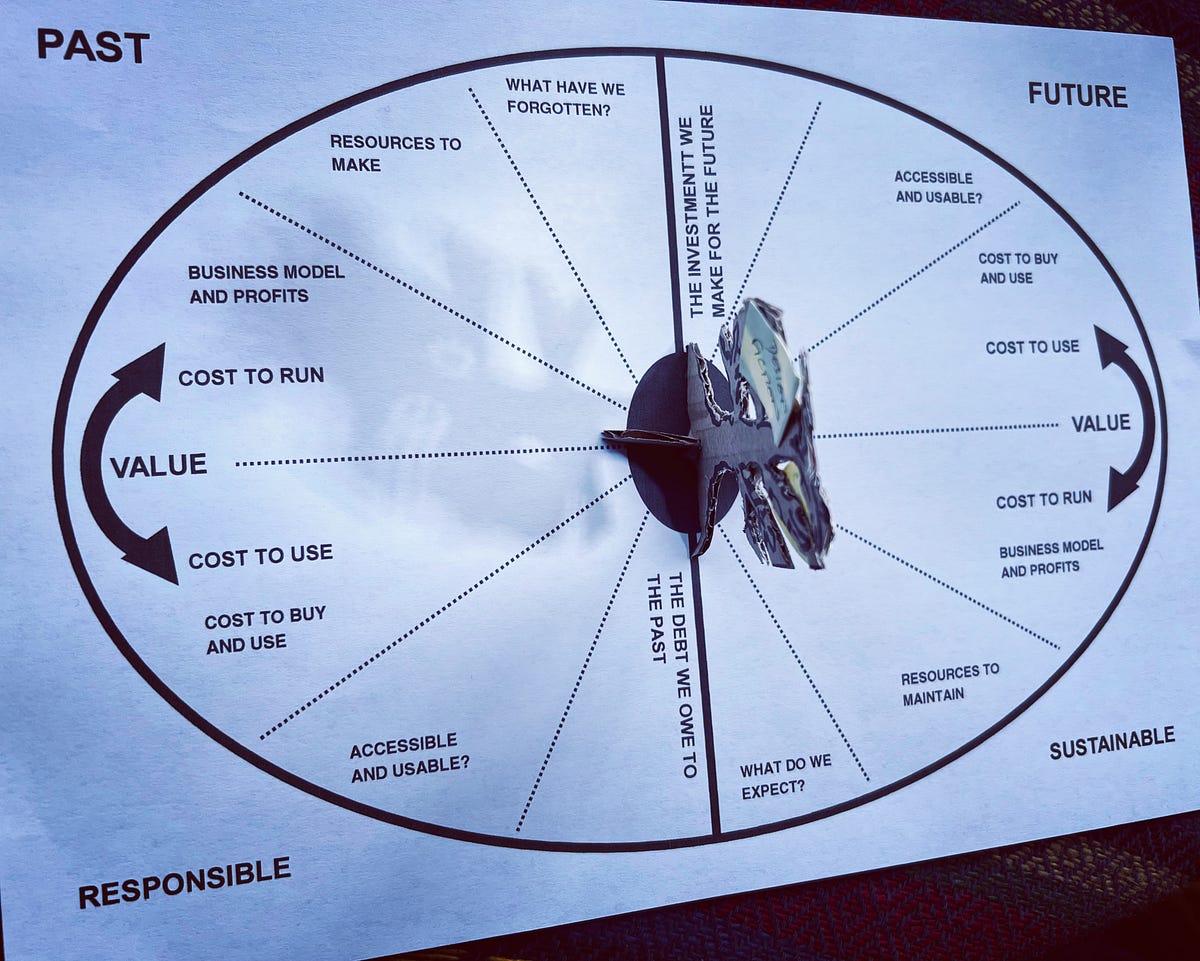
This print was enough to work out what content would fit in the space available. I would have liked to put in more topics but the physical space for post it notes constricts the possibilities.
That constriction will become an issue in the future workshop content creation and facilitation. It is better to know that now.
Prototypes can help predict future problems and prepare you to plan better.
Friday
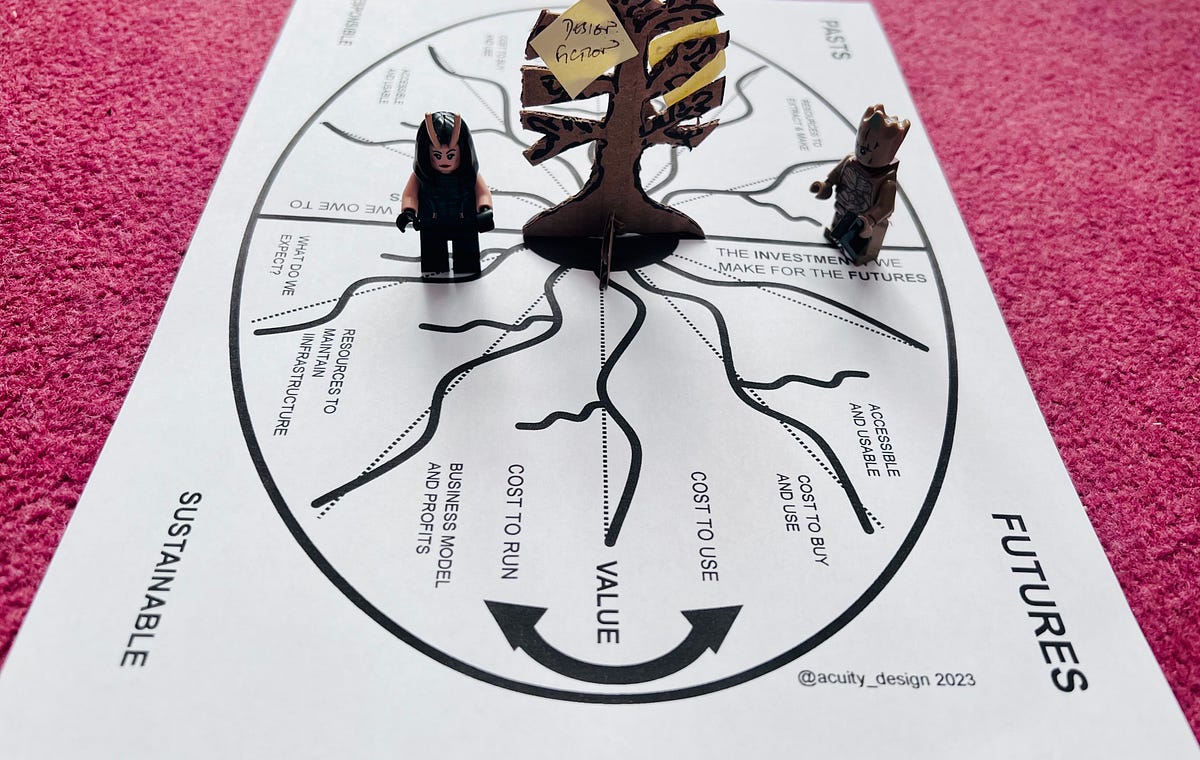
In the morning, I added a little detail to the printed base. The tree roots in simple graphics.
I did try it with some Lego Minifigs but doubt they will be used in a workshop. There is no need for additional personas in this activity.
I popped into town to get an A2 print made. I also made a version of the wooden tree on the home printer.
All this enabled a better sense of the full scale activity.
Some lead shaped post it notes arrived to see if they helped. As with too many novelty sticky notes, they fell off easily. Using 3M post it notes can be simpler.
Prototypes can be reworked quickly and re-scaled to get closer to the final experience.
Saturday

On Saturday, the wooden tree arrived (only £1.50 so not a huge cost). This allowed the final prototype to be assembled.
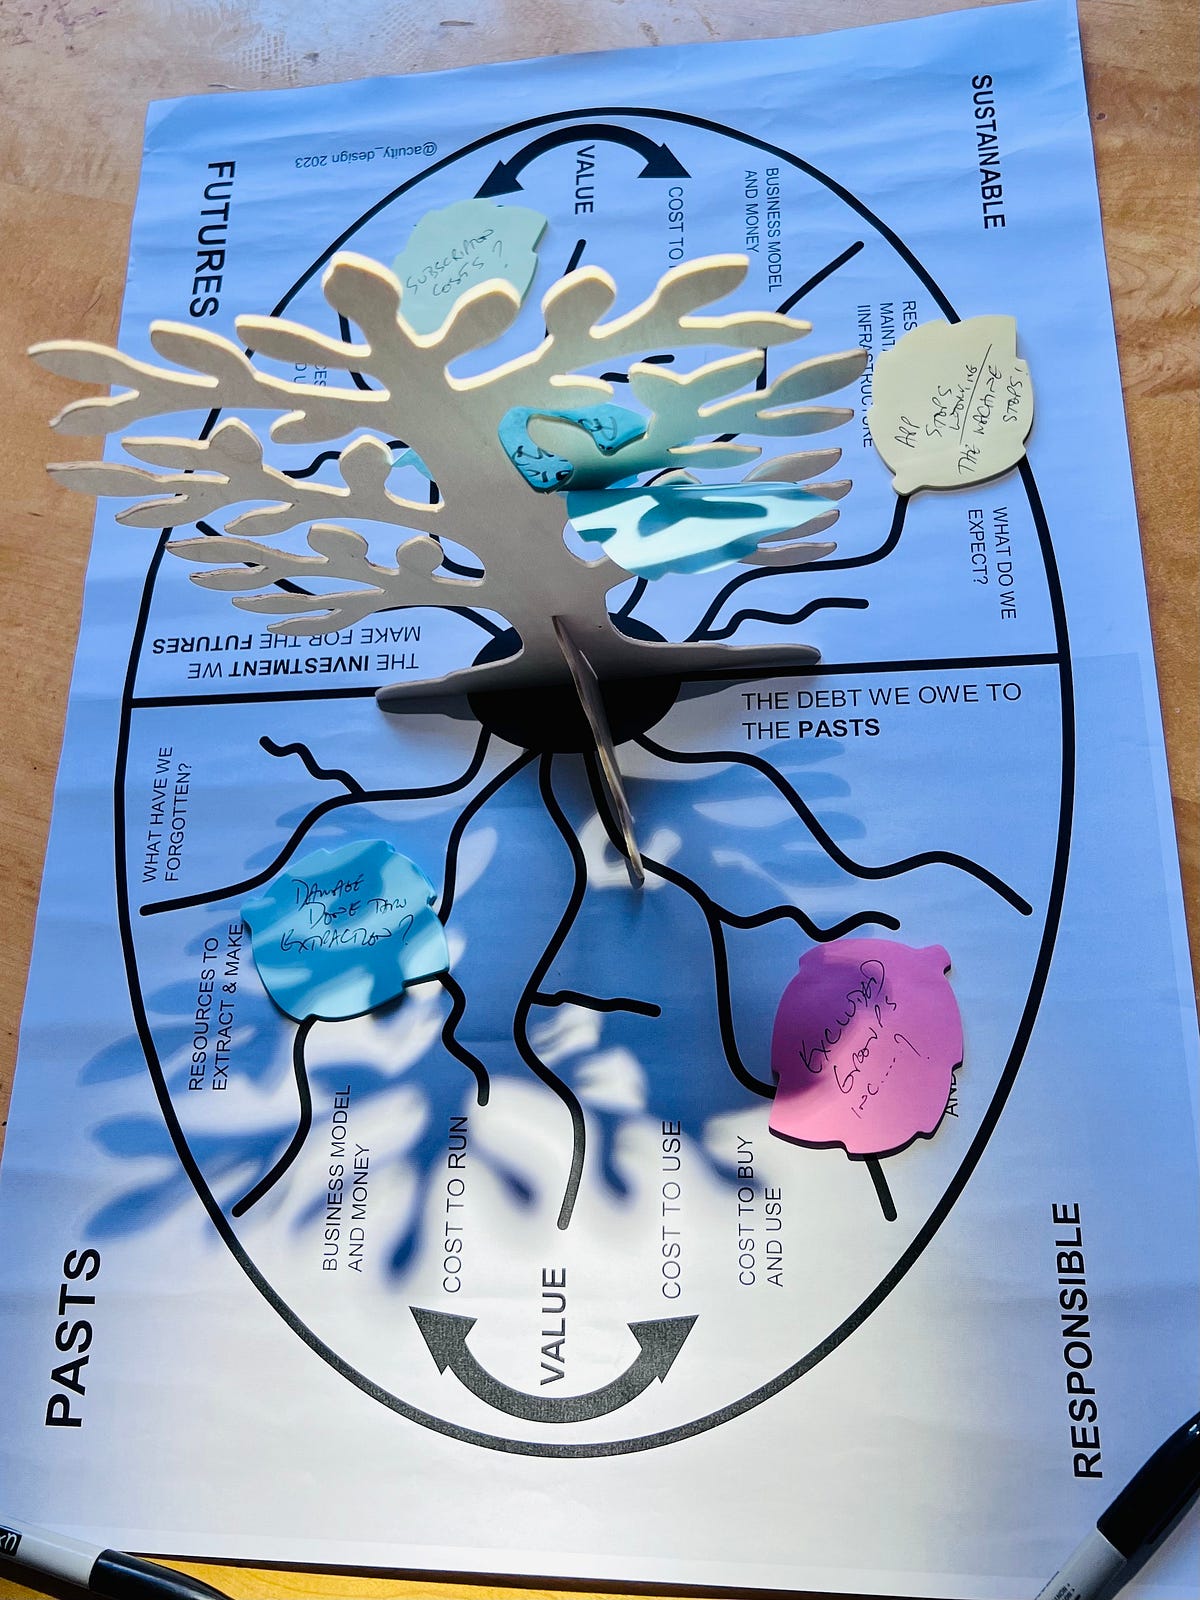
Using a torch, the throwing shade idea could also be tested.
I am now adjusting the base to be slightly prettier but the core activity remains the same.
Prototyping
Making things quickly into physical artefacts is just easier.
To understand the thing, make the thing.
Rapidly making things is a way of testing their usability and validity.
Prototyping works because it puts our ideas in front of us in ways we can manipulate and imagine more with.